How Image Processing Revolutionizes Data Science (Day 7)
# Day 7: Unveiling Secrets with Image Filtering in Wonder Egg Priority
Welcome, image explorers! Today's mission delves into the captivating realm of image filtering, inspired by the emotional depth and symbolism of Wonder Egg Priority. Just as Ai and her companions uncover hidden truths, we'll wield different filtering techniques to reveal subtle details and enhance the visual impact of our images.
Exploring the Toolbox:
Thresholding:
Binary thresholding creates a stark black-and-white image, emphasizing key elements like character outlines or object boundaries.
Adaptive thresholding dynamically adjusts thresholds based on local image characteristics, preserving details in varying lighting conditions.
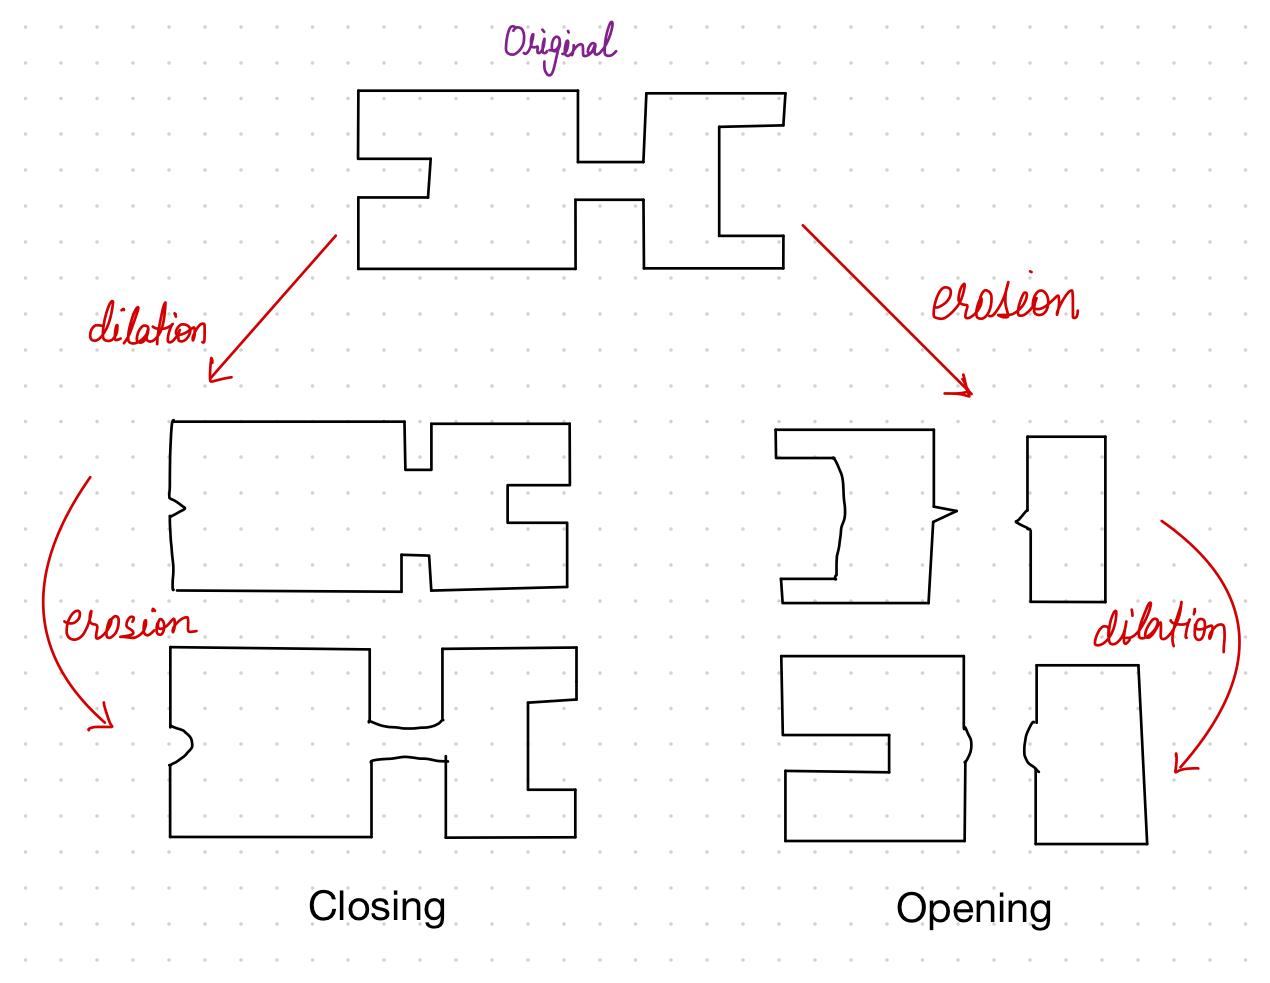
Morphological Operations:
Erosion shrinks objects, reducing noise and highlighting connected components.
Dilation expands objects, filling gaps and strengthening prominent features.
Opening: erosion followed by dilation, smoothing object boundaries.
Closing: dilation followed by erosion, filling small holes and gaps.
Gradient: difference between dilation and erosion, emphasizing edges and transitions.
Structuring Elements:
- Shape and size of the element influence the operation's impact. Common shapes include rectangles, crosses, and ellipses.
Embarking on the Quest:
Import Libraries and Load Image:
 import cv2
 import numpy as np
 import matplotlib.pyplot as plt
 import skimage.io as io

 img = cv2.imread('../input/wondereggpriority/Wonder-Egg-Priority-1024x767.jpg')
 plt.imshow(img); plt.title('Im Image'); plt.show()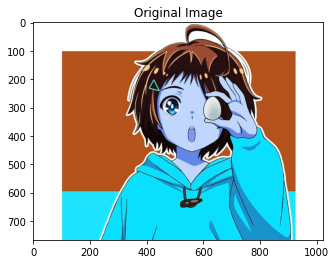
Thresholding Explorations:
Thresholding converts grayscale images to binary (black and white) based on a chosen intensity value. We'll explore two methods:
a) Binary Thresholding:
  threshold = 120  # Adjust this value based on your image
  binary_thresh = cv2.threshold(img, threshold, 255, cv2.THRESH_BINARY)[1]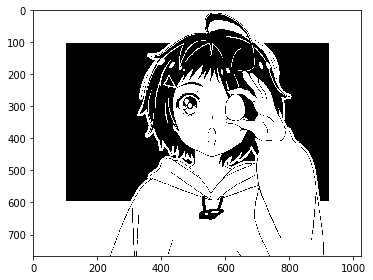
Here, we set a threshold (120) and apply
cv2.threshold()to create a binary image where pixels below the threshold become black and those above become white.b) Adaptive Thresholding:
This method automatically adjusts the threshold based on local image characteristics, potentially preserving more details in areas with varying lighting.
Unveiling Details with Morphological Operations:
Define a structuring element with suitable shape and size.
Apply erosion, dilation, opening, closing, and gradient operations.
Visualize each result and analyze how it reveals details or modifies image features.
These operations modify objects in an image based on a structuring element (a small shape like a square or circle). We'll use a 5x5 square kernel here:
kernel = np.ones((5, 5), np.uint8)
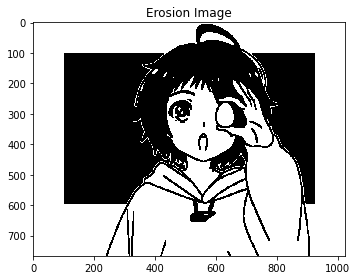
a) Erosion:
erosion = cv2.erode(binary_thresh, kernel, iterations=1)
plt.figure(figsize=(12, 8))
plt.subplot(231); plt.imshow(erosion, cmap='gray'); plt.title('Erosion')
plt.show()
Shrinks objects (dark regions) in the image, reducing noise and highlighting connected components.
b) Dilation:
dilation = cv2.dilate(binary_thresh, kernel, iterations=1)
plt.figure(figsize=(12, 8))
plt.subplot(231); plt.imshow(erosion, cmap='gray'); plt.title('Dilation')
plt.show()
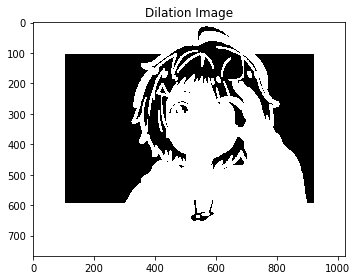
Expands objects, potentially filling gaps and strengthening prominent features.
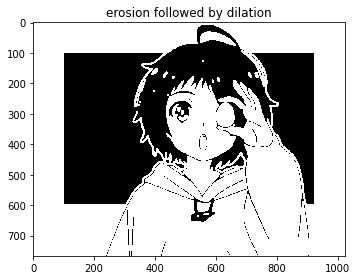
c) Opening (erosion followed by dilation):
opening = cv2.morphologyEx(binary_thresh, cv2.MORPH_OPEN, kernel)
Smooths object boundaries by first eroding and then dilating, potentially reducing noise while preserving larger shapes.
d) Closing (dilation followed by erosion):
closing = cv2.morphologyEx(binary_thresh, cv2.MORPH_CLOSE, kernel)
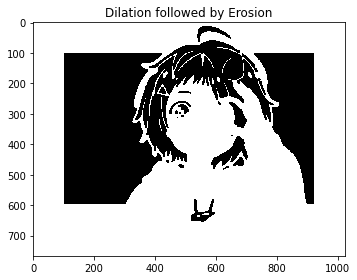
Fills small holes and gaps within objects by first dilating and then eroding, potentially helping to separate touching objects.
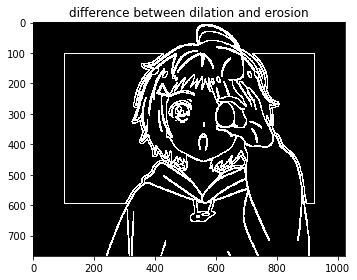
e) Gradient (difference between dilation and erosion):
gradient = cv2.morphologyEx(binary_thresh, cv2.MORPH_GRADIENT, kernel)
Experimenting with Structuring Elements:
Create structuring elements of different shapes (rectangle, cross, ellipse) and sizes.
Observe how the shape and size influence the output of morphological operations.
Consider which element best suits your image and filtering goals.
Challenges and Insights:
Tailoring Techniques: The optimal filtering approach depends on your image's content and goals. Experiment and compare different techniques.
Preserving Information: Balancing noise reduction and detail preservation is crucial. Consider adaptive techniques or adjust parameters cautiously.
Creative Exploration: Go beyond basic tasks and use filtering creatively to enhance artistic expression or achieve specific effects.
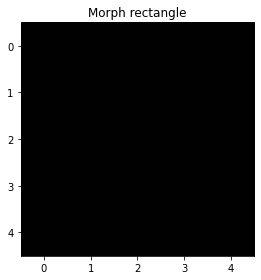
SE= cv2.getStructuringElement(cv2.MORPH_RECT,(5,5))
figure(0)
title("Morph rectangle")
io.imshow(SE)
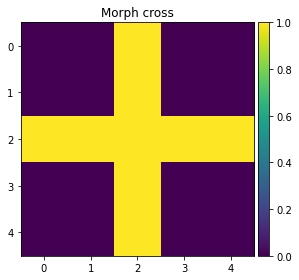
SE1= cv2.getStructuringElement(cv2.MORPH_CROSS,(5,5))
figure(1)
title("Morph cross")
io.imshow(SE1)
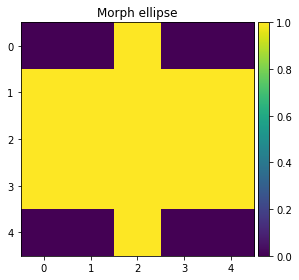
SE2= cv2.getStructuringElement(cv2.MORPH_ELLIPSE,(5,5))
figure(2)
title("Morph ellipse")
io.imshow(SE2)
Beyond the Code:
Image filtering serves diverse purposes across various fields, from medical imaging to security applications. Keep exploring, learning, and applying these techniques to unlock the potential of your images!
Your Turn:
Share your filtered images inspired by Wonder Egg Priority and its themes.
Discuss the filtering techniques you used and their effects.
Explore other filtering methods like Gaussian blurring or median filtering.
Remember, image filtering is a powerful tool for understanding and manipulating visual information. Let's continue our journey of discovery together!