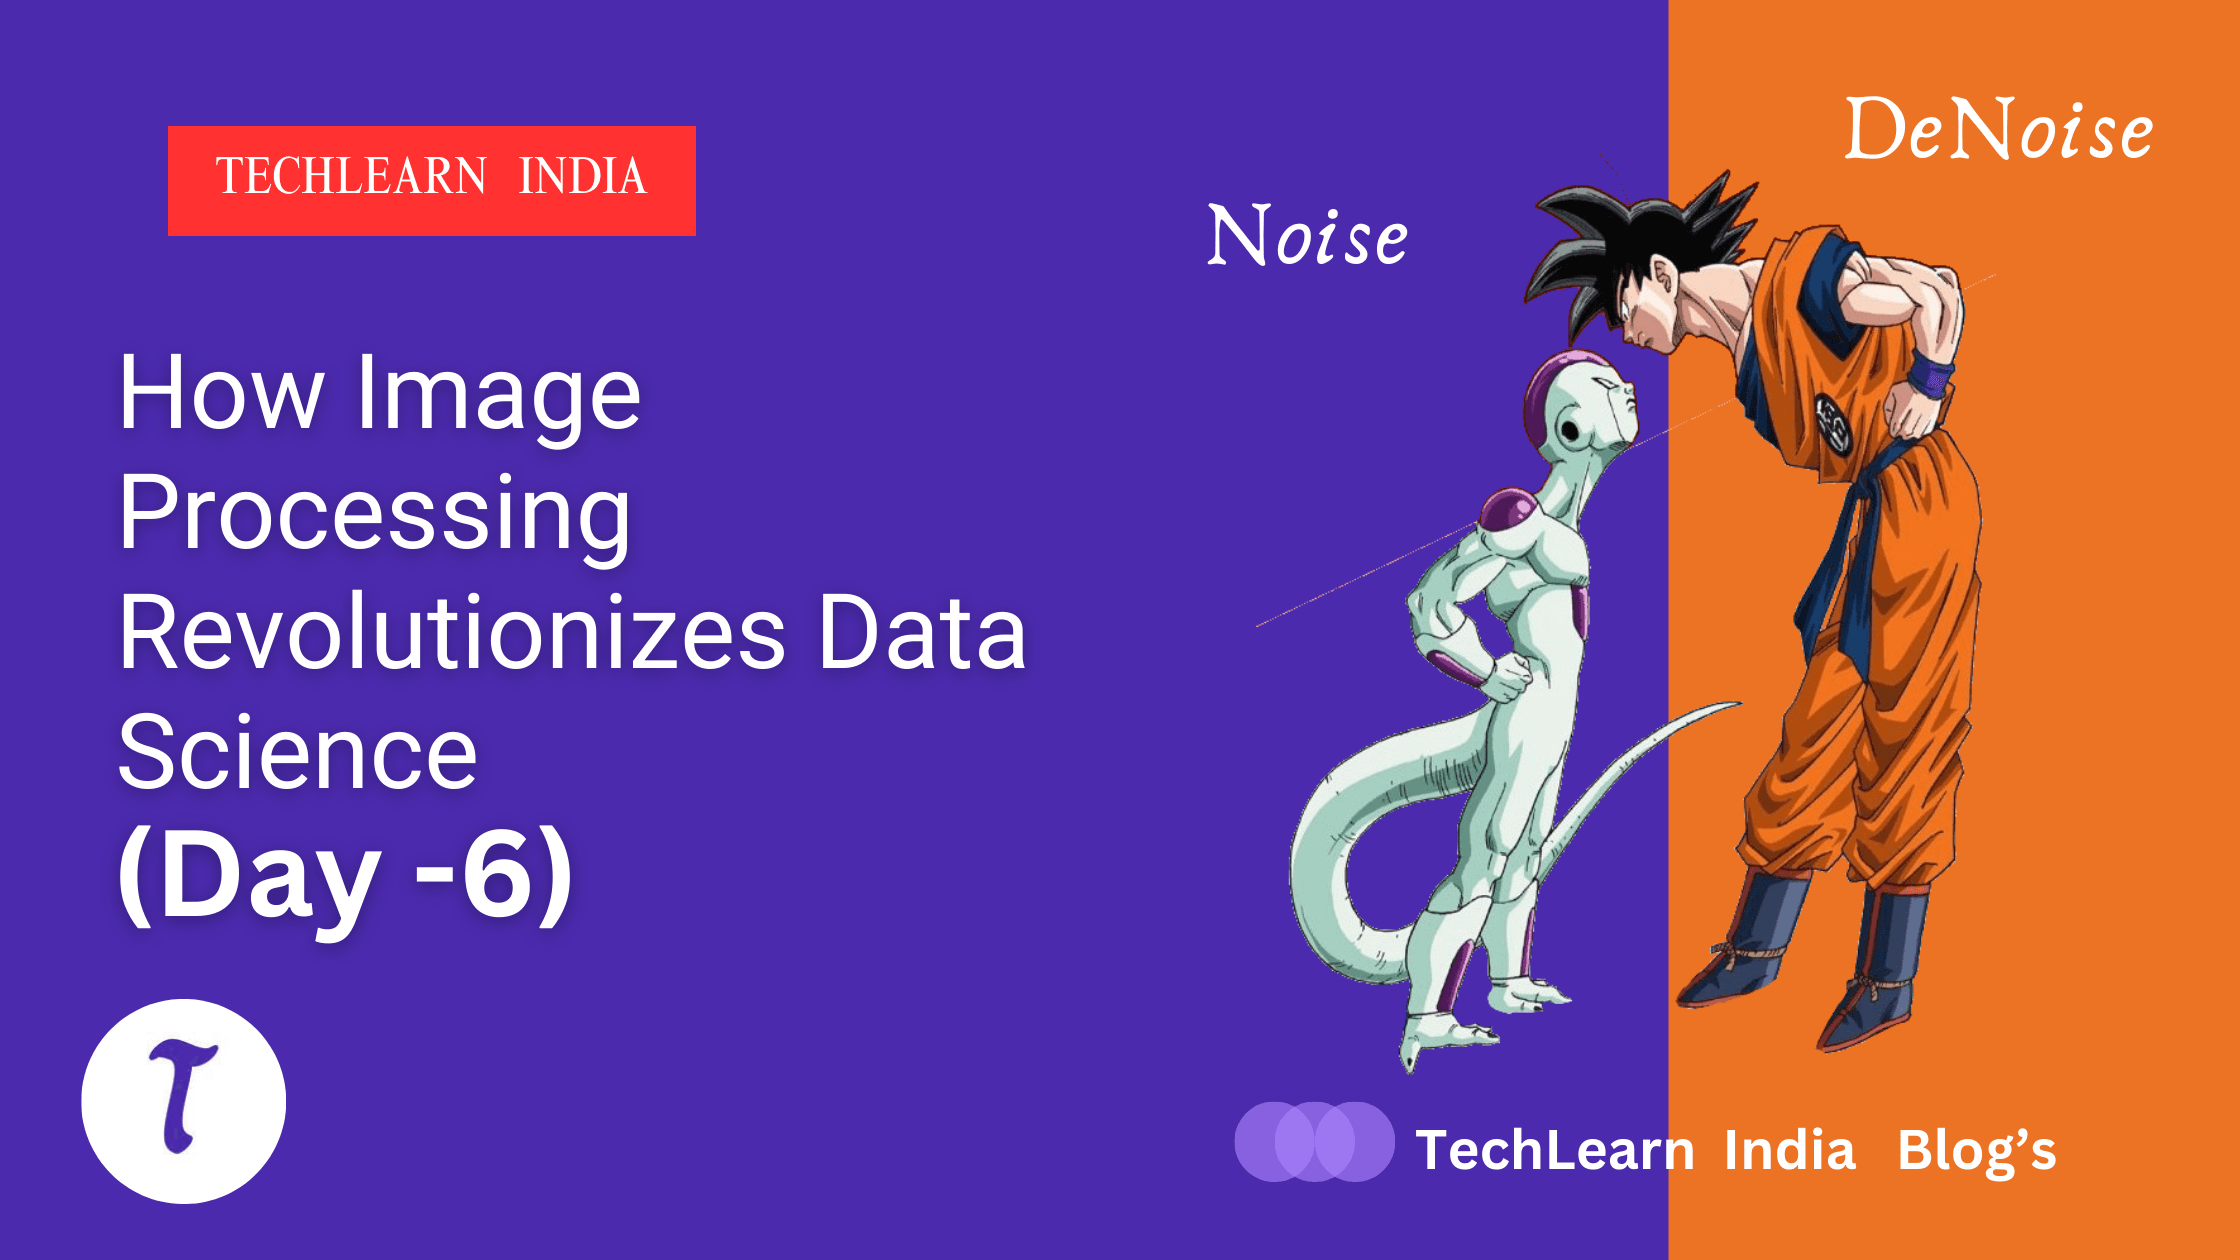
How Image Processing Revolutionizes Data Science (Day -6)
#Day 6 Dragon Ball Z Noise Reduction: Power Up Your Images or Frieza Will Crush Them! 😮
Welcome, image manipulators! Today, we embark on a thrilling quest: taming the corrupting forces of noise in our Dragon Ball Z images. Just as Goku and Vegeta train to overcome formidable villains, we'll learn noise reduction techniques to restore clarity and unleash the true potential of our images.
What is Noise?
Imagine tiny, unwanted pixels like Frieza's ki blasts disrupting the visual harmony of your image. Noise arises from various sources, such as sensor issues, compression artifacts, or external factors. It can mask important details and hinder image analysis.
Meet the Noise Villains:
Gaussian Noise: Adds randomly distributed pixel values, like tiny ki blasts scattered across the image, creating a blurry, hazy effect.
Poisson Noise: Appears as random "salt-and-pepper" specks, resembling fallen debris after an intense battle.
Salt-and-Pepper Noise: Replaces individual pixels with either black (salt) or white (pepper) values, often mimicking scattered energy blasts.
Confronting the Noise Villains:
1. Gauging the Threat:
- Examine your Dragon Ball Z image closely. What type of noise is present? What level of severity disrupts the image?
2. Choosing the Right Weapon:
Gaussian Noise:
Gaussian Filtering: Acts like a calming Senzu Bean, blurring the image slightly to average out noise while preserving edges.
Non-Local Means Filtering: Similar to Goku's Instant Transmission, intelligently smoothes noise by considering similar regions within the image.
Poisson Noise:
- Non-Local Means Filtering: Effective due to its noise-specific design.
Salt-and-Pepper Noise:
- Median Filtering: Like a Ki blast deflecting away unwanted pixels, it replaces each pixel with the median value of its neighbors, effectively removing salt-and-pepper noise.
3. Unleashing the Power of Code:
Import necessary libraries like
skimageandskimage.filters.Load your Dragon Ball Z image.
from skimage import io
from skimage.util import random_noise
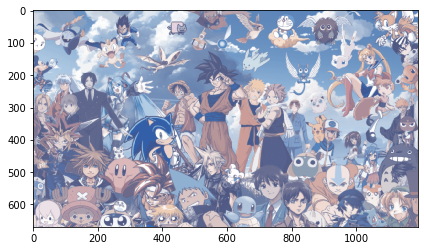
img = io.imread('../input/gokunvegeta/wp3882112.png')
Part 1: Adding Noise
  # Gaussian noise
  img2 = random_noise(img, mode='gaussian')
  io.imshow(img2)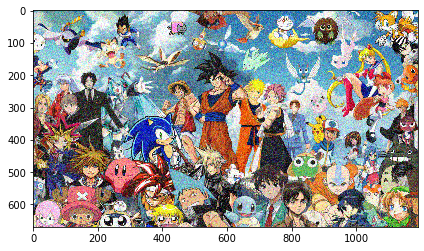
  # Poisson noise
  img3 = random_noise(img, mode='poisson')
  io.imshow(img3)
  # Salt noise
  img4 = random_noise(img, mode='salt', amount=0.5)
  io.imshow(img4)
  # Pepper noise
  img5 = random_noise(img, mode='pepper', amount=0.5)
  io.imshow(img5)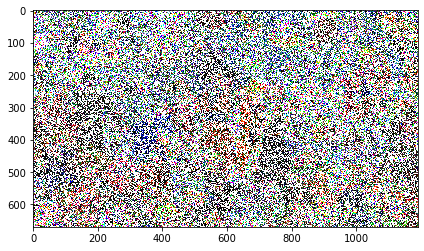
  # Salt & pepper noise
  img6 = random_noise(img, mode='s&p', amount=0.5)
  io.imshow(img6)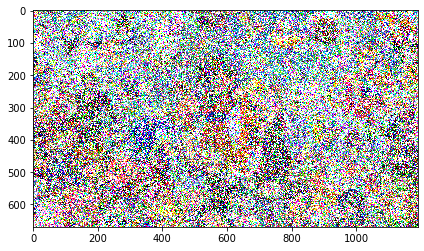
Explanation:
This code loads your image named
wp3882112.pngand adds different types of noise using therandom_noisefunction fromskimage.util.Adjust the path to your actual image.
The
amountparameter controls the intensity of salt and pepper noise.
Enhancement:
- Consider displaying original and noisy images side-by-side for better comparison. Use
plt.subplot()or create a function to display multiple images.
Part 2: Noise Reduction
from skimage import io
from skimage import filters
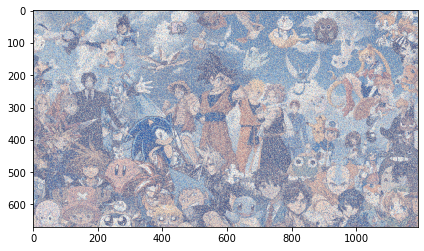
# Gaussian denoising
img7 = filters.gaussian(img)
io.imshow(img7)
# Denoising noisy image with salt & pepper noise
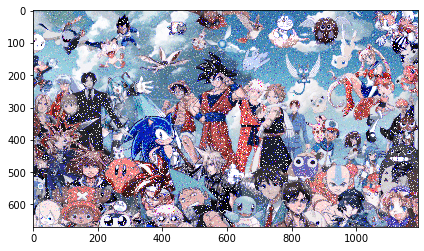
img8 = random_noise(img, mode='s&p', amount=0.3)
img9 = filters.gaussian(img8)
io.imshow(img9)
    # Median filtering on noisy image
    img10 = random_noise(img, mode='s&p', amount=0.3)
    img11 = filters.median(img10)
    io.imshow(img11)
Explanation:
This code applies two common noise reduction filters: Gaussian filter and median filter.
Gaussian filter is applied directly to the original image and to an image with salt & pepper noise.
Median filter is applied only to the image with salt & pepper noise.
Enhancement:
Experiment with parameters:
Adjust the
sigmaparameter for Gaussian filtering (controls smoothness).Try different window sizes for median filtering.
Compare multiple filters:
- Apply both Gaussian and median filters to different types of noise and compare the results.
Add comments:
- Include comments within the code to explain each step and parameter.
Additional Information:
Explore other noise reduction techniques like bilateral filtering or non-local means filtering, which are particularly effective for specific noise types.
Consider using more informative variable names to improve code readability.
I hope this enhanced explanation and suggestions empower you to master noise reduction with confidence! 😉